Tech Column: How to improve audio quality for remote music exams
Phoebe Pope
Saturday, January 1, 2022
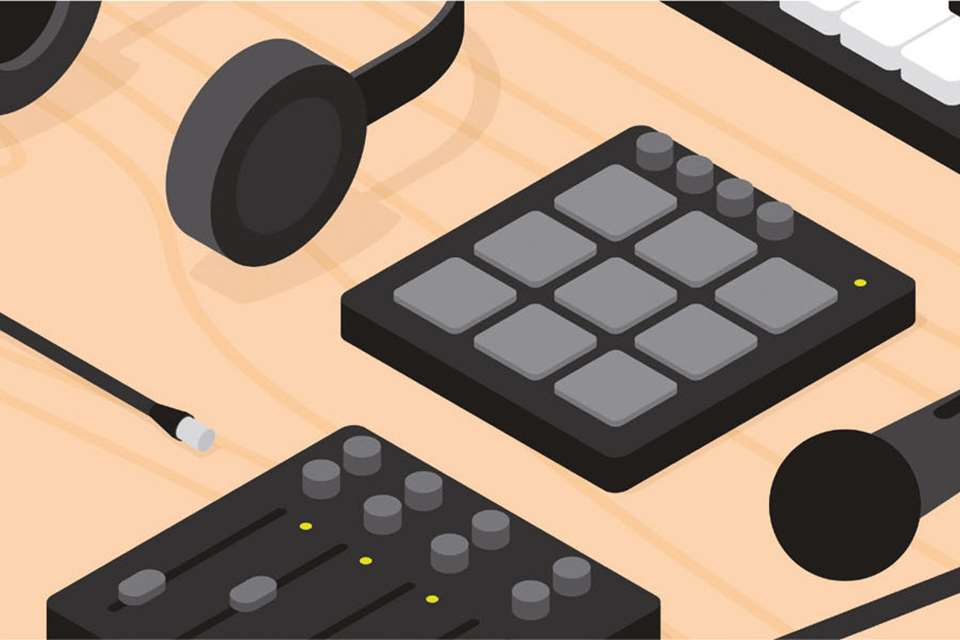
When it comes to remote exams, we don't all have a professionally kitted out music studio to perform from. Phoebe Pope unpacks how students can improve their audio quality for free in order to complete remote music exams in a home environment
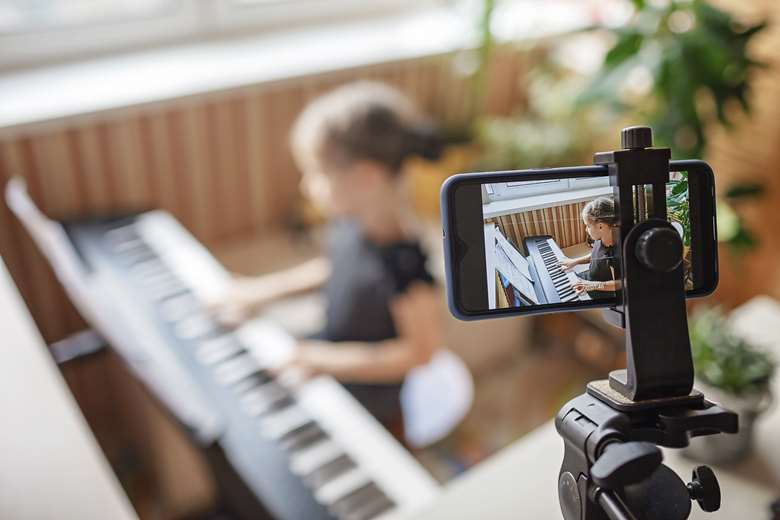
Adobe Stock/ Maria
A music studio is arguably one of the most important spaces for a producer to record and mix great sounding audio. However, when recording in an average household space, you may find that no matter how much you adjust the sound, it never seems right. There are, however, methods you can use to improve the recording environment; the following tips will make sure that wherever you record students for remote exams, the room is as functional as possible.
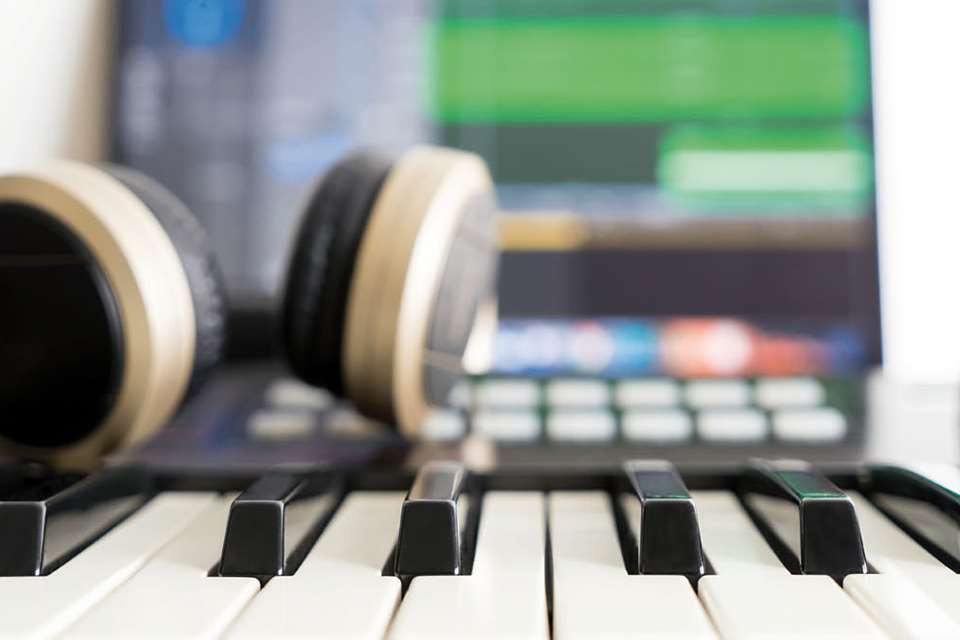
Step 1: Understanding your recording environment and initial preparations
First, make sure you are taking stock of the room you choose to record in. Remember: sound bounces off hard surfaces like tiles, wood, and glass. When sound reflects off hard surfaces, it creates additional noise that distorts. We need to avoid this being captured on the recording as much as possible. Choosing a room with softer surfaces, like carpet, works much better. This allows the sound to be absorbed. Make sure the room you chose is also large enough for your equipment to fit and for the performer to have space to move around without feeling restricted.
Step 2: DIY diffusers and absorbers
When sound moves it can reflect off a surface, creating reverb decay. To ensure good sound quality we need to make sure that all frequencies decay at the same time – for example, a reverb decay time between 0.3 and 0.5 seconds. Using a combination of diffusers and absorbers can help control the frequencies. Diffusers scatter sound over a wider surface, rather than the sound hitting back like a mirror, which could cause flutter echo. Placing a diffuser at the back of your speakers and other walls can help eliminate unwanted reverb reflections.
Tip: how to make a DIY diffuser – Using 100mm square timber, cut out different height blocks, and stick them randomly onto the back of a plywood board.
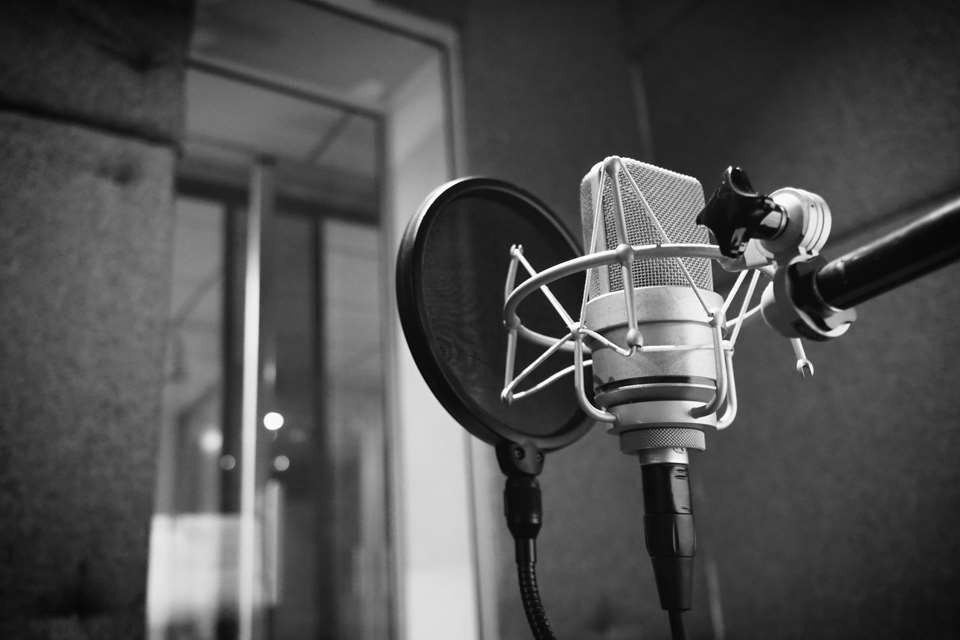
Sound absorbers are usually made of mineral wool and/or foam. When the sound hits, the sound is absorbed. This helps eliminate more unwanted reflections. The thicker the foam, the more sound is absorbed. When recording, try and place the mic close to the absorbers to stop the sound reflecting off any hard surfaces. First, make sure the mic and performer are pointed away from any hard surfaces to avoid reflections. You can also use a duvet or carpet at the back and side of the performer to catch any reflections.
Tip: how to make a DIY absorber – Get a 100mm deep wooden frame and insert around a 30–50mm mineral wool in the cavity. You need to leave some space behind the wool and the frame. Finally, cover the frame with porous fabric such as cotton or polyester.
Step 3: Room ergonomics
The most important tip to consider before embarking on your recording is to make sure that your room is comfortable and functional. Make sure the room is free from any clutter and that the student has enough space to move freely while performing. Equipment, such as mics and cables, should be easily accessible and presented neatly. You do not want to be tripping over cables!
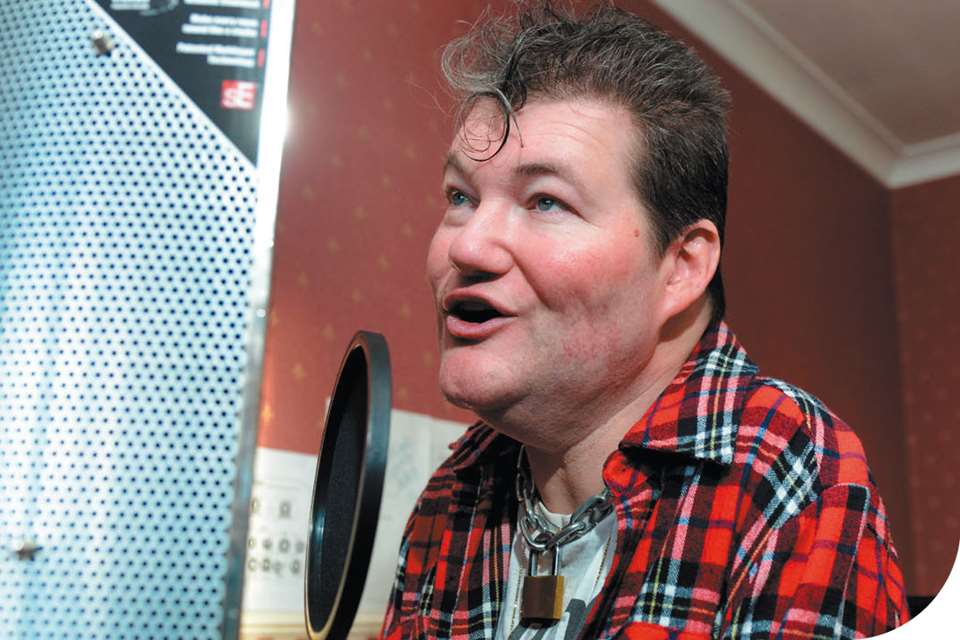
Step 4: The ‘perfect’ take
Quality of recordings have improved and developed over time. Even in the early days of audio capture, there was never a ‘perfect’ way of doing so. Always remember to take your time with each take. If you need to capture multiple layers, record one part at a time. Finally, the most important part of getting the perfect take is also to ensure the performer is relaxed. Great audio capture of a poor performance cannot be fixed, but a great performance with minor audio imperfections can be excused.
Tip: Where possible, use a combination of mics, such as a shotgun mic to get accurate and isolated sound, as well as a room mic for added ambience. You then have more options when choosing the best audio.
Step 5: Final stage edits
Before you listen back to make your final decisions, and if you have time, it is important to give your ears a rest. Keep all rejected takes just in case you need to revisit them. Listen back to the recording through headphones, studio monitors if you have them, and through a home stereo system. If the recording went well, the sound through different audio devices should be balanced. Always remember that a key to any good recording is that the sound has good dynamic range and all parts are clearly audible.
Tip: have some reference tracks ready for comparison. This can also help you make sure each track is at the same volume.